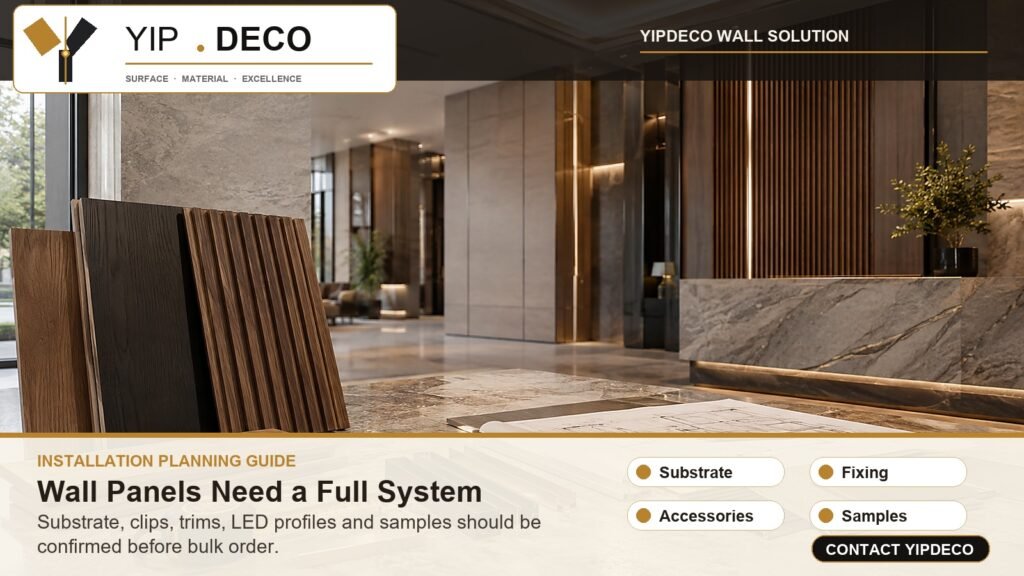
Wall panel installation should not start from the panel only. For project buyers, importers, distributors and fit-out contractors, the safer process is to check the wall substrate first, then confirm the panel type, fixing method, clips, screws, trims, corner details, LED profiles, sample approval and packing plan before bulk order. A good wall panel system is not only decorative. It must be installable on the real project wall.
This guide explains how to think about wall panel installation before ordering. It is not a small DIY guide for one room. It is written for B2B buyers who need to supply wall panels for hotels, offices, retail stores, apartments, public spaces and commercial renovation projects.
Start with the full wall system: Wall Solution
Choose the panel type: PVC Wall Panels | SPC Wall Panels | Mouldings & Grille
Plan finishing details: Wall Connection Accessories
Confirm samples: Sample Kits | Request samples or send a project inquiry
Direct Answer: What Should Buyers Confirm Before Wall Panel Installation?
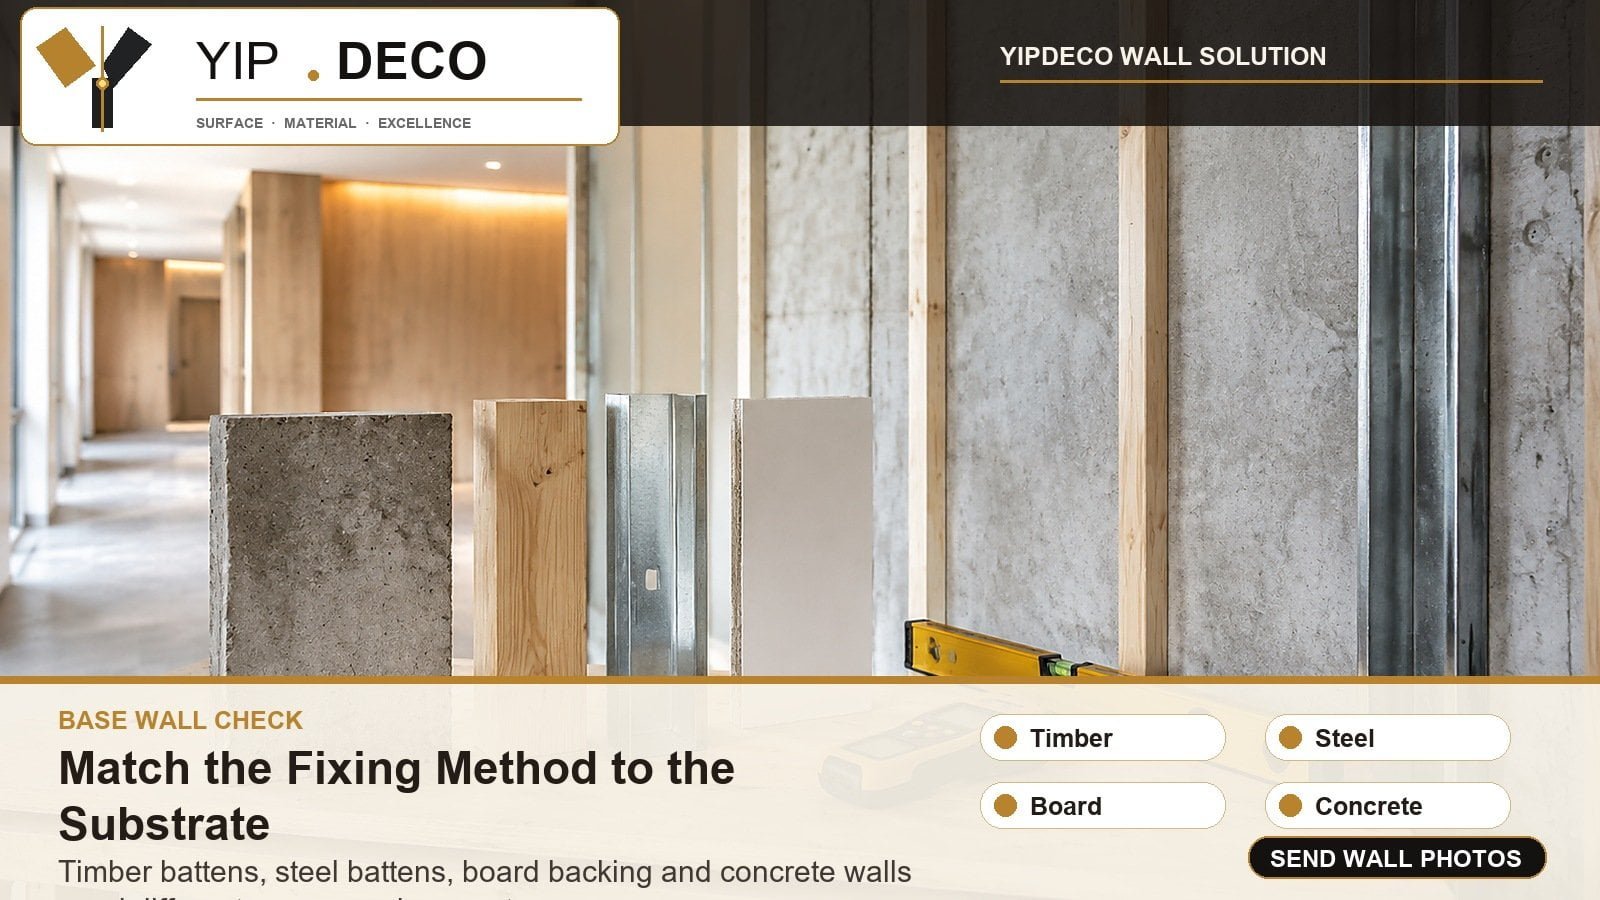
Before installing wall panels, buyers should confirm the wall substrate, moisture condition, flatness, fixing method, panel thickness, clip system, screw type, adhesive use, trims, corners, joints, LED profile position and sample approval. The right installation method depends on the actual base wall. Timber battens, steel battens, board backing and concrete walls do not use exactly the same fixing logic.
| Installation Check | What to Confirm | Why It Matters |
|---|---|---|
| Wall substrate | Timber batten, steel batten, board backing, masonry, concrete, old tile or plaster | The fixing method and screw type depend on the base |
| Wall condition | Flatness, dryness, strength, dust, loose plaster, hollow tile, cracks | A weak wall can make any panel system fail |
| Panel type | PVC flat panel, SPC wall panel, grille panel, moulding profile, anti-collision panel | Different panels need different accessories and fixing details |
| Fixing method | Clip, screw, adhesive, connector, direct bonding or combined method | Installation strength and visible finish depend on this decision |
| Hidden fixing | Back-side clips, screws hidden behind panel, no visible-face screw | Keeps the finished wall clean and professional |
| Accessories | Corner trims, U trims, H connectors, T trims, skirting, edge caps, transition profiles | Most visible defects appear at corners, edges and joints |
| LED profile | Profile size, heat dissipation, light strip position, access for maintenance | Lighting details must be planned before installation |
| Samples | Panel, trim, connector, color, texture, thickness and clip system | Physical sample approval reduces wrong-order risk |
| Packing | Area labels, trim lists, spare pieces, protection for long lengths | Reduces missing-accessory delays during installation |
If a supplier only quotes the wall panel square meters but does not ask about substrate, trims and installation details, the project risk is not fully controlled.
CTA: Send Wall Photos for Installation Review
YipDeco Insight: Installation Questions Usually Reveal the Real Buying Risk
In recent wall panel inquiries, many buyers do not only ask about color and price. They ask how the wall panels are installed, whether the panels can be fixed on different base walls, what trims are needed, and how the corners or LED lines should be finished.
From our experience, this is a good sign. It means the buyer is thinking beyond the product photo. A wall panel can look attractive in a catalog, but the project succeeds only when the installer can handle the real wall condition. A hotel corridor, office reception wall, retail feature wall and bathroom renovation wall may all use decorative panels, but the installation risk is different.
Our wall-solution thinking comes from material matching, profile wrapping, lamination and project communication experience. We do not look at a wall panel as one board. We check the substrate, panel thickness, clip position, aluminum profile, corner accessory, LED profile, sample set and packing list together. That is where a supplier can become useful before the order, not only after a problem appears on site.
1. Start With the Wall Substrate, Not the Panel Color
Many buyers start the conversation with a design image: marble look, woodgrain, fluted panel, mirror effect or warm neutral color. That is normal. But for installation, the first question should be different:
What is behind the panel?
The substrate decides whether the wall panel can be clipped, screwed, bonded or supported by a backing system. If the base is weak, dusty, damp or uneven, the visible panel may not be the real problem. The problem is the wall carrying it.
Common wall bases include:
- timber batten;
- steel batten;
- board or plywood backing;
- masonry or concrete wall;
- gypsum board;
- old plaster wall;
- old ceramic tile wall;
- renovation wall with uncertain moisture history.
Each one requires a different check. A timber batten may work with standard wood screws. A steel batten may need self-drilling screws. A board backing may accept clip fixing if it is stable enough. Masonry or concrete may need plugs, anchors or a prepared batten system depending on the project. Old tile must be checked for hollow areas and loose pieces before any panel is installed over it.
For project buyers, this matters because the purchasing list changes. The same wall panel order may require different connectors, screws, clips, trims or installation instructions depending on the local wall base.
2. Check Flatness, Moisture and Surface Strength Before Ordering
Before a buyer confirms wall panels, the installer or contractor should check three basic wall conditions: flatness, moisture and strength.
Wall Flatness
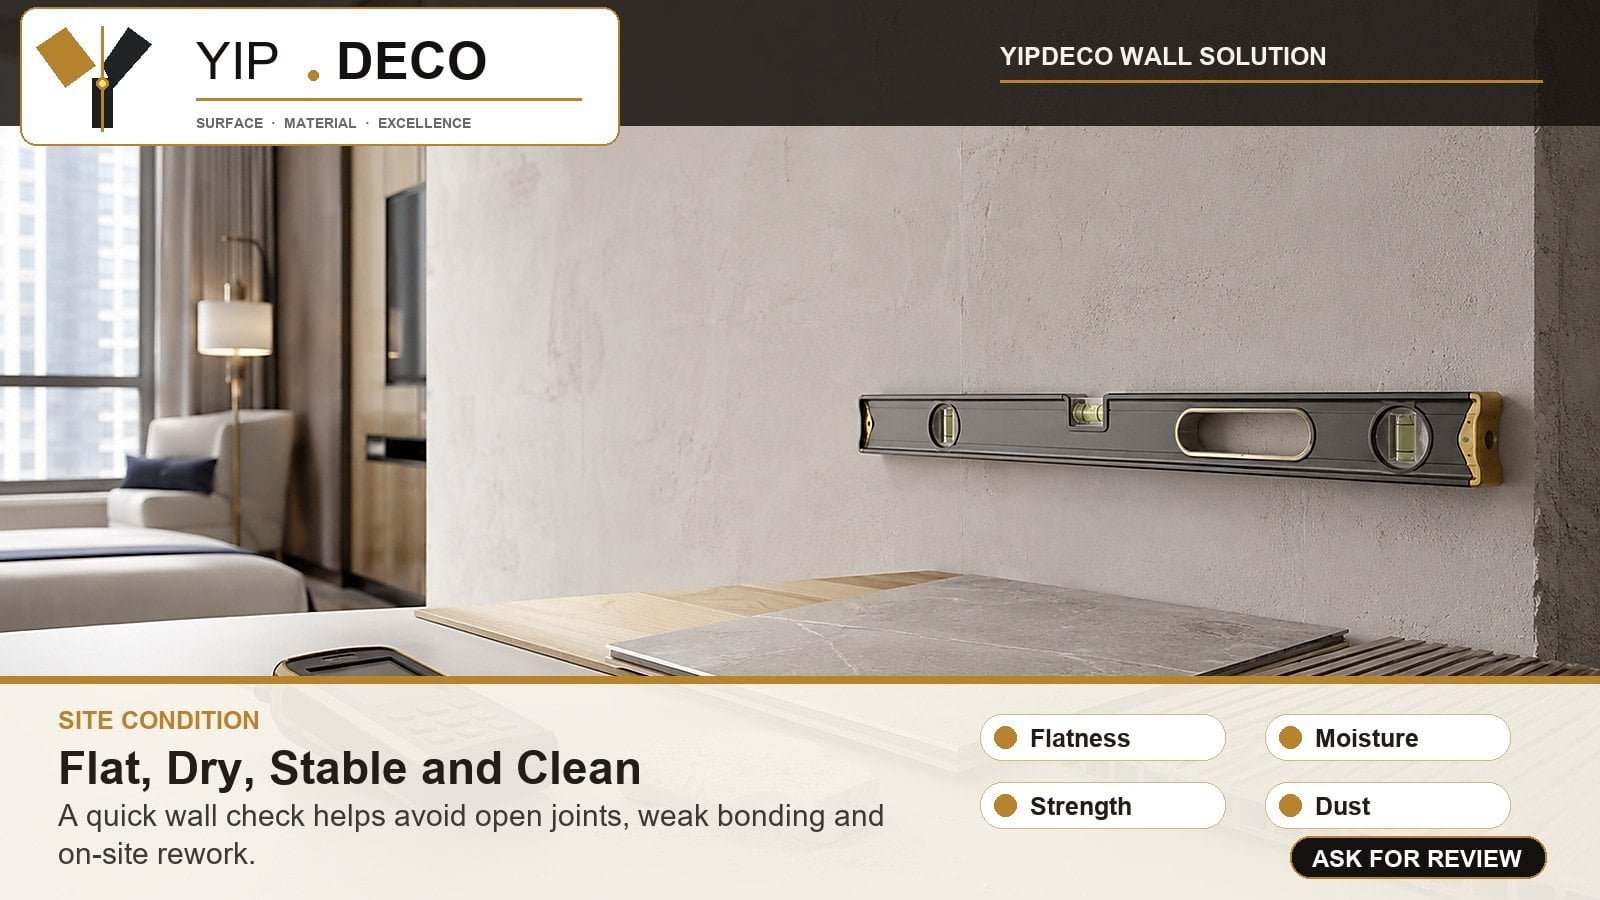
Panels show the wall behind them. If the wall is not flat, long flat panels may show waves, uneven joints or open edges. Grille panels and mouldings can hide some visual irregularity, but they still need a stable fixing surface.
For commercial projects, do not rely on visual inspection only. The installer should use a straight edge or level to check high and low areas. If the wall is uneven, the project may need battens or backing boards before panels are installed.
Moisture Condition
Moisture changes the installation decision. A dry office wall and a wet bathroom wall should not be treated the same. PVC decorative wall panels can work well in many dry commercial interiors, but moisture-heavy or direct-water areas require more careful product selection. SPC wall panels are often a stronger choice for wet-area or tile-replacement projects, but the waterproof result still depends on the installation system, corner details and sealing method.
If the wall has active water leakage, damp plaster or mold, the wall should be repaired first. No decorative panel should be used to hide an active moisture problem.
Surface Strength
A dusty, powdery, loose or cracked wall cannot hold adhesive or clips reliably. Old plaster should be scraped and repaired. Hollow tiles should be removed. Weak backing boards should be replaced. If the base wall cannot hold screws or clips, the project may need a secondary batten or frame system.
This is one reason sample and installation discussion should happen before bulk order. A buyer may choose the right panel but still order the wrong fixing method.
3. Choose the Panel Type According to the Installation Scene
Wall panel installation is not one method for every product. The panel family changes the installation method.
PVC Flat Wall Panels
PVC wall panels are suitable for many dry decorative interiors, including hotel rooms, apartment walls, office walls, retail backgrounds, corridors and renovation projects. Installation often focuses on wall preparation, adhesive, connectors, corner trims and clean edge finishing.
Buyers should confirm:
- panel thickness and structure;
- whether the wall is dry and stable;
- whether exposed edges need trims or edge caps;
- whether the project requires same-color accessories;
- whether the panels are packed by area or color.
PVC flat panels are efficient for broad decorative wall coverage, but the details around doors, corners, skirting and ceiling lines still need accessories.
For projects that need a reflective decorative surface, buyers can also review Acrylic Mirror Panels and confirm whether the backing, adhesive, edge protection and scratch-protection method are suitable for the installation scene.
SPC Wall Panels
SPC wall panels are rigid stone-polymer core panels used for waterproof wall applications, hospitality interiors and some tile-replacement projects. They may use adhesive installation, click-type systems or accessory-assisted installation depending on the product structure.
Buyers should not confuse SPC wall panels with SPC flooring. Wall use has different thickness, surface, backing, profile and installation detail requirements. For bathrooms, shower surrounds or moisture-heavy walls, the question is not only the panel core. It is also whether the corners, joints and exposed edges are properly finished.
Grille Panels and Mouldings
Mouldings and grille panels add depth, shadow and decorative rhythm. They are popular in hotel lobbies, office reception walls, retail displays, bedrooms and feature walls. Installation must consider profile direction, spacing, corner transition, ceiling line and sometimes LED lighting.
Grille panels are more sensitive to alignment than flat panels. If the first line is not straight, the whole wall can look wrong. For this reason, installers should set reference lines before fixing.
Anti-Collision and Reinforced Panels
Anti-collision boards and reinforced PVC panels are used where impact, cleaning and public traffic matter. Corridors, hospitals, schools, public facilities and busy commercial interiors may need this product logic. Installation should protect edges and joints because those areas receive frequent contact.
4. Understand Clip Fixing: The Clean Finish Depends on Hidden Details
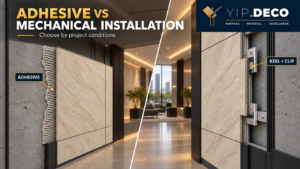
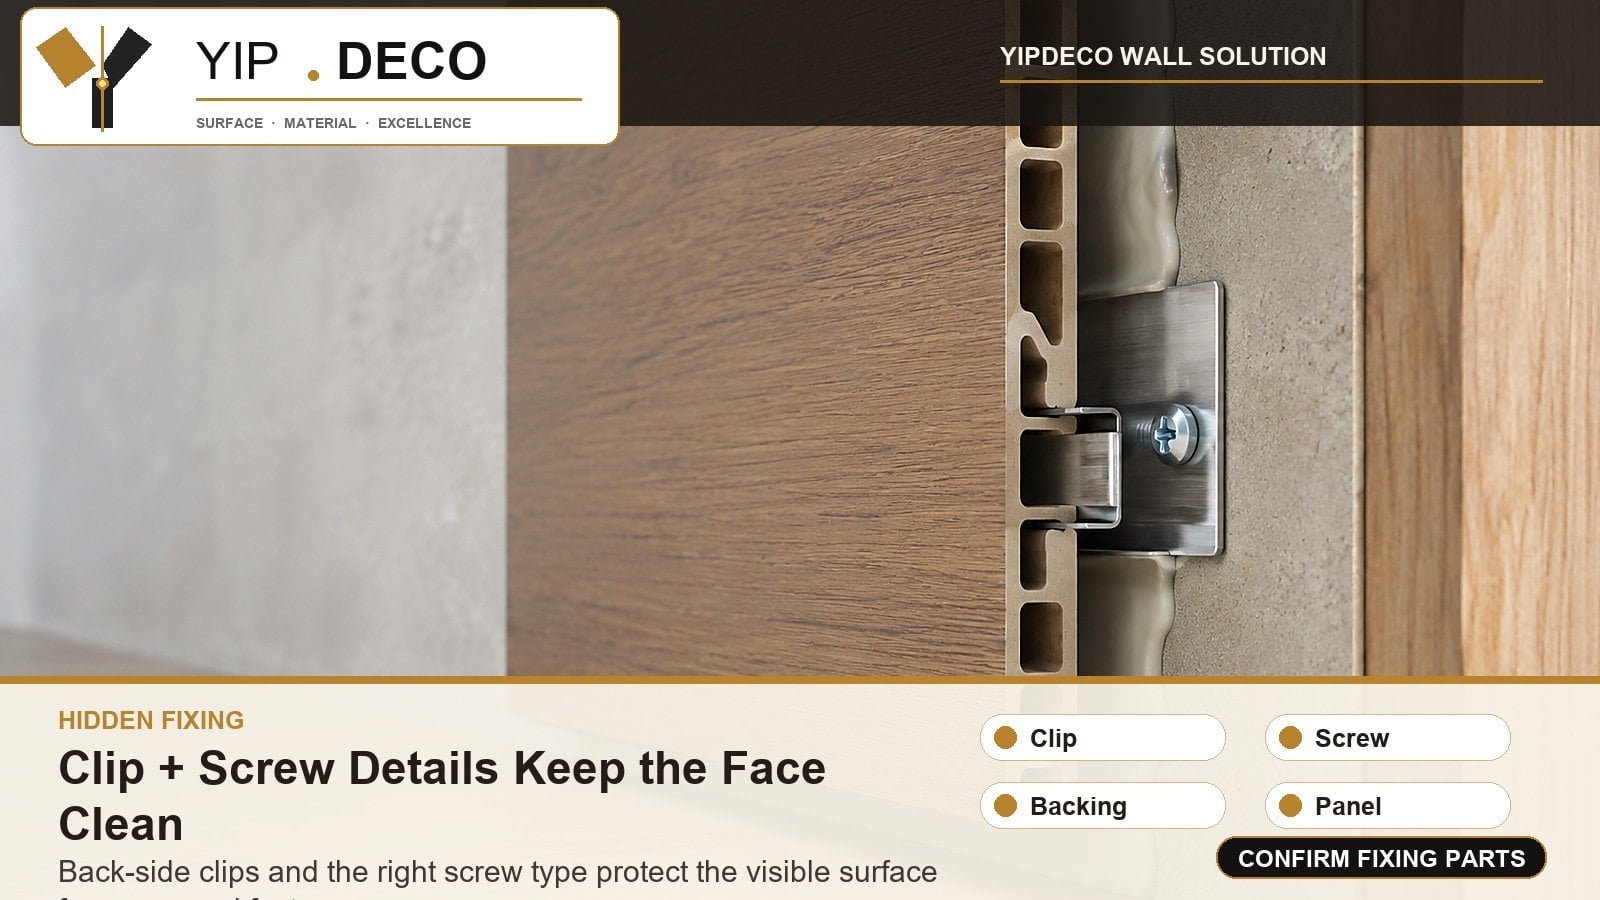
Clip fixing is one of the most important installation details for many wall panel systems. The basic logic is simple: the connector clip is fixed to the substructure or backing with a screw, and the panel locks or rests into the clip system. The visible face stays clean because the screw is not exposed on the front surface.
This is why the substrate matters. The clip is only as reliable as the base that holds the screw.
Timber Batten
For timber battens, a standard wood screw is commonly used. The buyer should confirm batten spacing, batten dryness and whether the timber is straight. If the timber bends or twists, the panel surface may not remain flat.
Steel Batten
For steel battens, a self-drilling screw may be needed. Buyers should confirm steel thickness and whether the screw length and head type match the clip. A wrong screw can loosen, sit proud or interfere with the panel.
Board or Backing
For board backing, screw holding strength depends on the board material and thickness. Plywood and dense backing boards usually perform better than weak or thin sheets. If the backing board is poor, the clip may loosen over time.
Masonry or Concrete
For masonry or concrete, installation may require plugs, anchors or a prepared backing system. Directly fixing small clips into uneven concrete can create alignment issues. Many projects use battens or a leveled backing layer to make the surface easier to control.
The key installation rule is clear: fix the clip into the substructure securely and keep the screw hidden from the visible face.
5. Adhesive Is Support, Not a Substitute for Wall Preparation
Adhesive can be useful in wall panel installation, especially for flat panels, SPC wall panels or areas where full surface support is needed. But adhesive should not be treated as a way to ignore wall preparation.
If the wall is dusty, oily, damp, powdery or unstable, adhesive cannot perform reliably. If the panel is installed over old tile, the tile surface must be clean, stable and free of hollow pieces. If the wall is uneven, adhesive may not fully contact the back side of the panel.
For many projects, adhesive and mechanical fixing work together. Adhesive supports the panel surface, while clips, trims or profiles control positioning and finishing. The correct combination depends on panel type, wall base, humidity, panel size and local installation practice.
Buyers should ask the supplier:
- Is the panel designed for adhesive installation, clip installation or both?
- What wall condition is required before applying adhesive?
- Should the adhesive be applied in strips, dots or full coverage?
- Are the corners and edges sealed or covered by trims?
- Is the adhesive compatible with the panel backing and site temperature?
YipDeco should not overpromise one universal adhesive method. The safer answer is to match the installation method to the panel and wall condition.
6. Trims and Profiles Should Be Planned Before Panels Are Cut
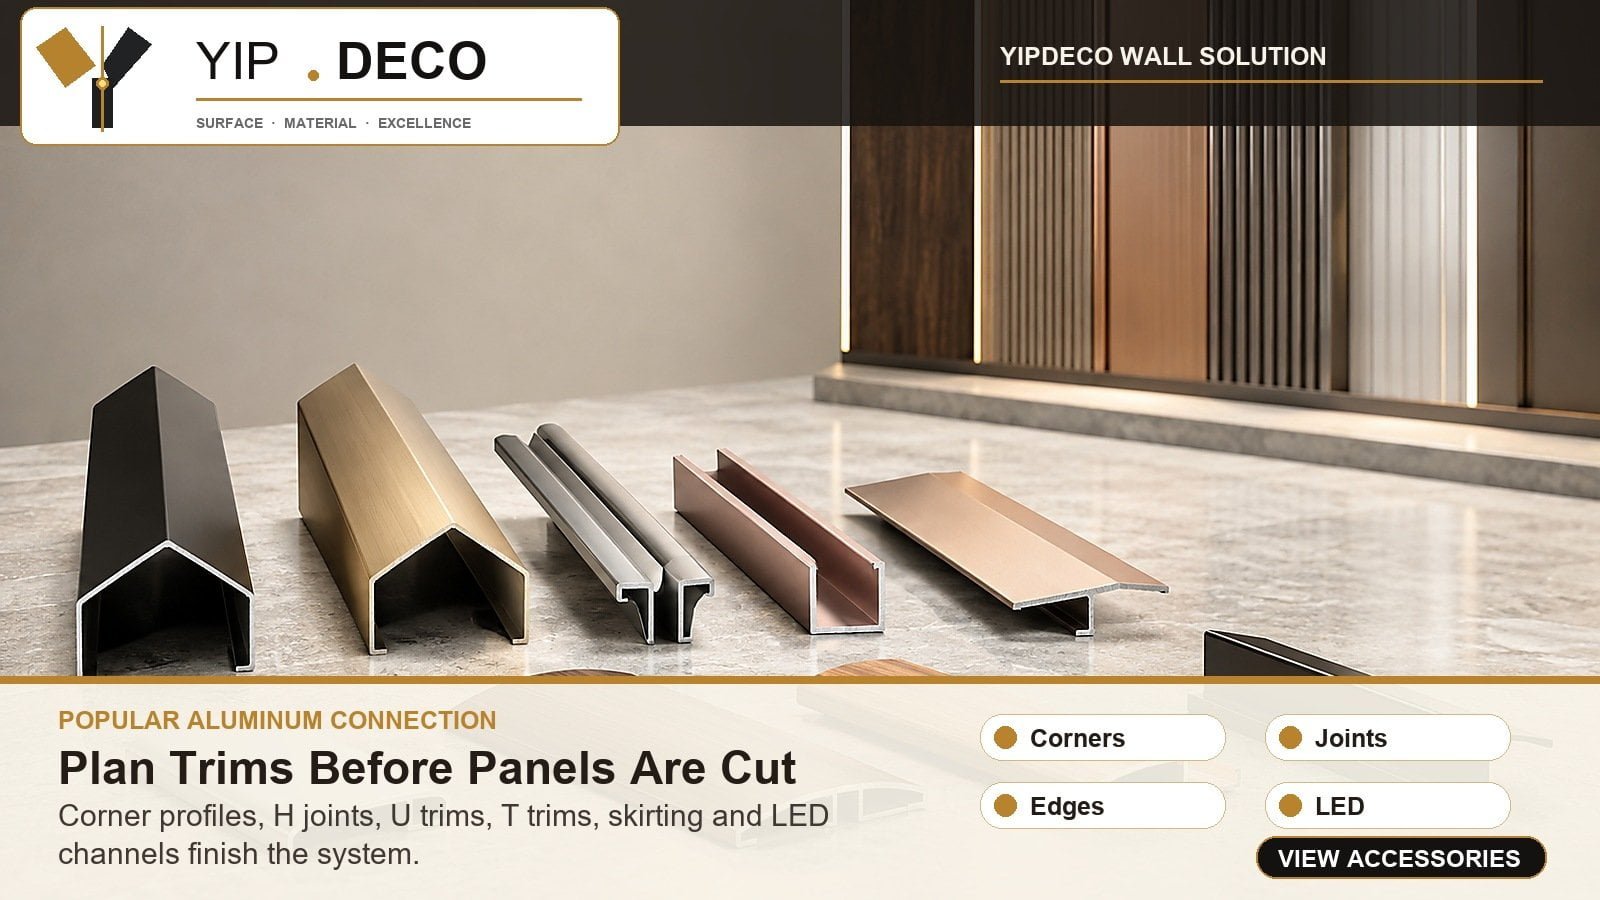
Most visible installation problems appear at the edges, not in the center of the panel. Corners, joints, skirting, ceiling lines, doorframes, wall ends and LED channels must be planned before panels are cut.
Common finishing accessories include:
- outside corner trims;
- inside corner trims;
- U trims for panel edges;
- H connectors for panel-to-panel joints;
- T trims for transitions;
- skirting trims;
- wall edge guard trims;
- decorative strips;
- end caps;
- pipe or cable outlet trims;
- same-color corner accessories.
If the buyer orders panels first and asks about accessories later, three problems can appear:
- the profile opening does not match the panel thickness;
- the profile color or finish does not match the panel;
- the installer must improvise with local accessories.
This is why Wall Connection Accessories should be part of the first quotation discussion. Accessories are not only decoration. They decide whether the project can be finished cleanly.
Popular Aluminum Connection Families Buyers Should Include
In YipDeco's aluminum connection range, the useful way to think is not "one trim model." It is four finishing families that solve different site details:
| Connection Family | Example Profiles From the Range | Where Buyers Use It |
|---|---|---|
| Corner profiles | QY-899A, QY-898A, QY-897A, QY-906A, QY-A15, QY-805 | Internal corners, external corners, rounded turns and feature-gap corners |
| Panel joining profiles | QY-071, QY-003, QY-813A, QY-115A, QY-117A, QY-177A, QY-001, QY-002 | H-joints, U-seams, flush seams, tight-seam connectors and panel-to-panel alignment |
| Edge and end closers | QY-A10, QY-175, QY-004, QY-141, QY-58 | Open panel ends, skirting, wall edges, perimeter details and exposed boundaries |
| Lighting-integrated trims | QY-8507A, QY-809, QY-133A / 345A, QY-165A, QY-119A, QY-8506A, QY-123A | Concealed LED lines, corner-link LED details, glow feature lines and illuminated wall transitions |
For distributors, this matters because the panel order and accessory order should be quoted together. If the panel is 8 mm or 9 mm, the connector opening, clip detail and edge profile must match that thickness. If the project needs same-color woodgrain, matte solid or metallic trims, the accessory finish should be confirmed at the same time as the wall panel finish.
CTA: View Wall Connection Accessories
7. Corners Decide Whether the Installation Looks Professional
Corners are small areas, but they decide whether the final wall looks intentional. A large wall panel can look good in the middle, but if the outside corner is open, uneven or roughly sealed, the whole project looks unfinished.
Outside Corners
Outside corners need protection because they are exposed to impact. In hotels, offices and retail spaces, luggage, cleaning tools, carts and people may hit these corners. A corner trim or rounded profile protects the panel edge and gives a cleaner appearance.
Inside Corners
Inside corners require neat connection and sometimes moisture control. In wet or semi-wet areas, the joint detail should prevent water from entering behind the panel. For dry decorative interiors, the main concern is visual alignment and shadow line.
Curved and Feature Corners
Some wall systems include curved profiles, crescent panels, cloud column profiles or grille panels for feature walls. These products require more accurate matching between panel, profile and installation base. The buyer should request sectional drawings and sample pieces before confirming bulk order.
For high-end interiors, the corner is not a minor detail. It is part of the design language.
8. LED Profiles Need Early Planning
LED light profiles are often used in hotel lobbies, reception walls, display walls, restaurants, retail spaces and residential feature walls. They can create a premium effect, but they also add installation requirements.
LED profiles should be planned before the panel order because they affect:
- profile size and shape;
- panel cutting;
- wall channel depth;
- power supply location;
- light strip access;
- heat dissipation;
- trim and corner layout;
- maintenance access.
Aluminum profiles are commonly used with LED strips because they help protect the light strip, improve light diffusion and manage heat better than an exposed strip. But the profile must match the panel system. A beautiful lighting idea can become difficult on site if the groove, profile and wall depth were not planned together.
For buyers, the right question is not simply "Do you have LED profile?" The right questions are:
- Which LED profile matches this wall panel thickness?
- Can the profile be used with grille panels or flat panels?
- How is the profile finished at corners and ends?
- Can the LED strip be replaced later?
- Does the installer need a separate backing or channel?
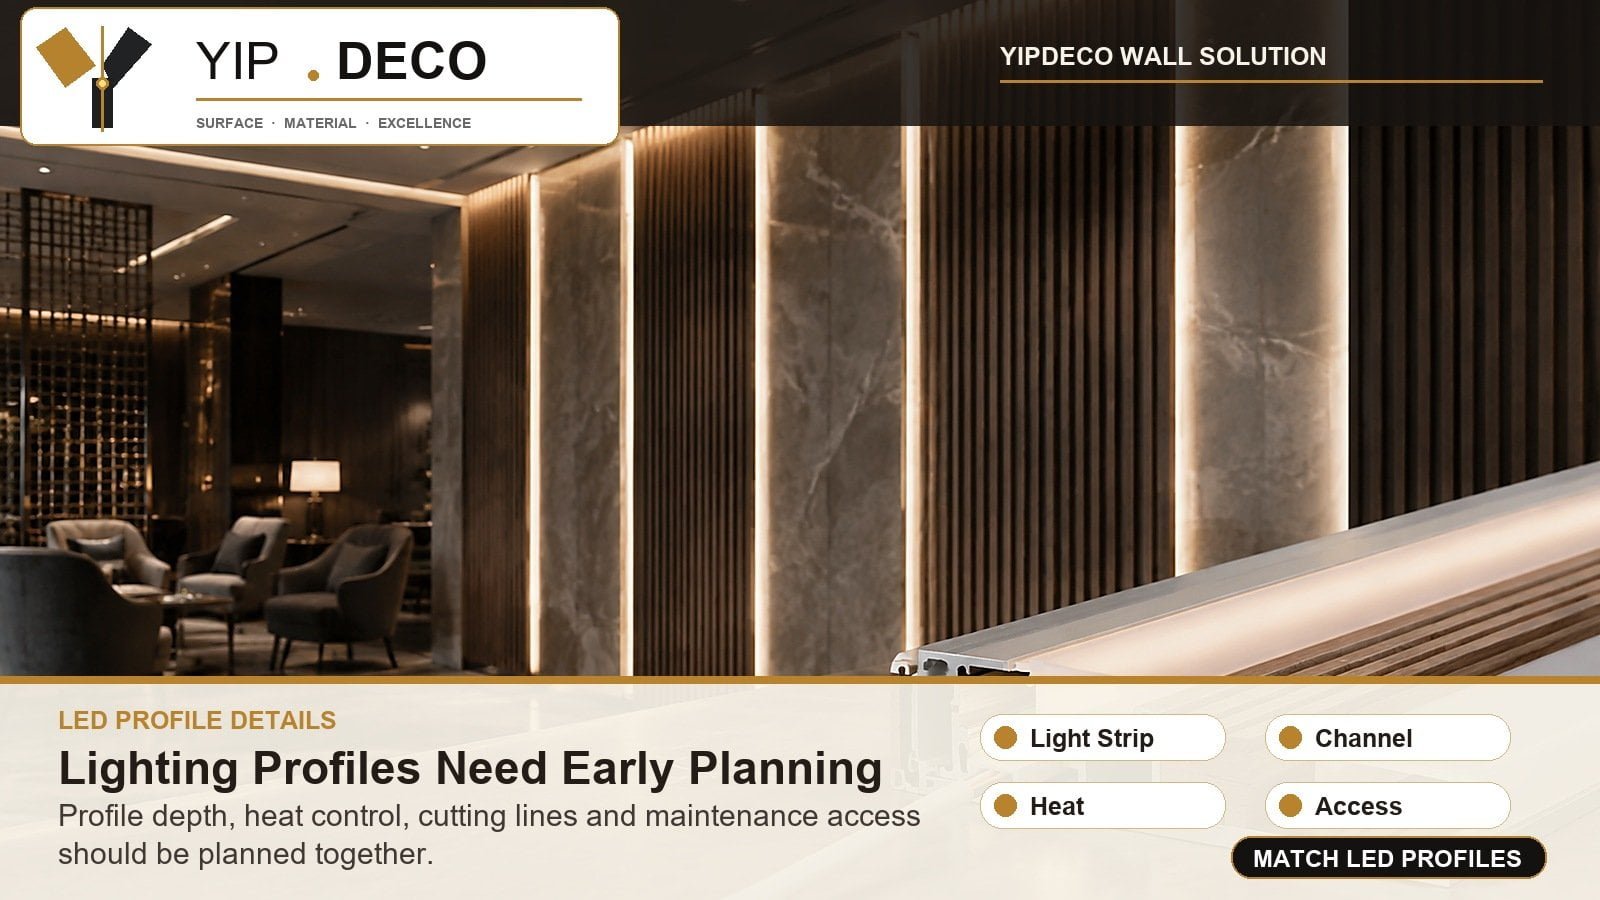
LED planning should also consider heat management. General solid-state lighting guidance from the U.S. Department of Energy explains that LED performance depends on proper system design, not only the light source itself. In wall-panel projects, that is why aluminum channels, access planning and wiring routes should be reviewed before the decorative wall is closed.
CTA: Ask for LED Profile Matching Support
9. Can Wall Panels Be Installed Over Old Walls or Old Tiles?
Many renovation buyers ask this question. The practical answer is: sometimes, but the old wall must be checked first.
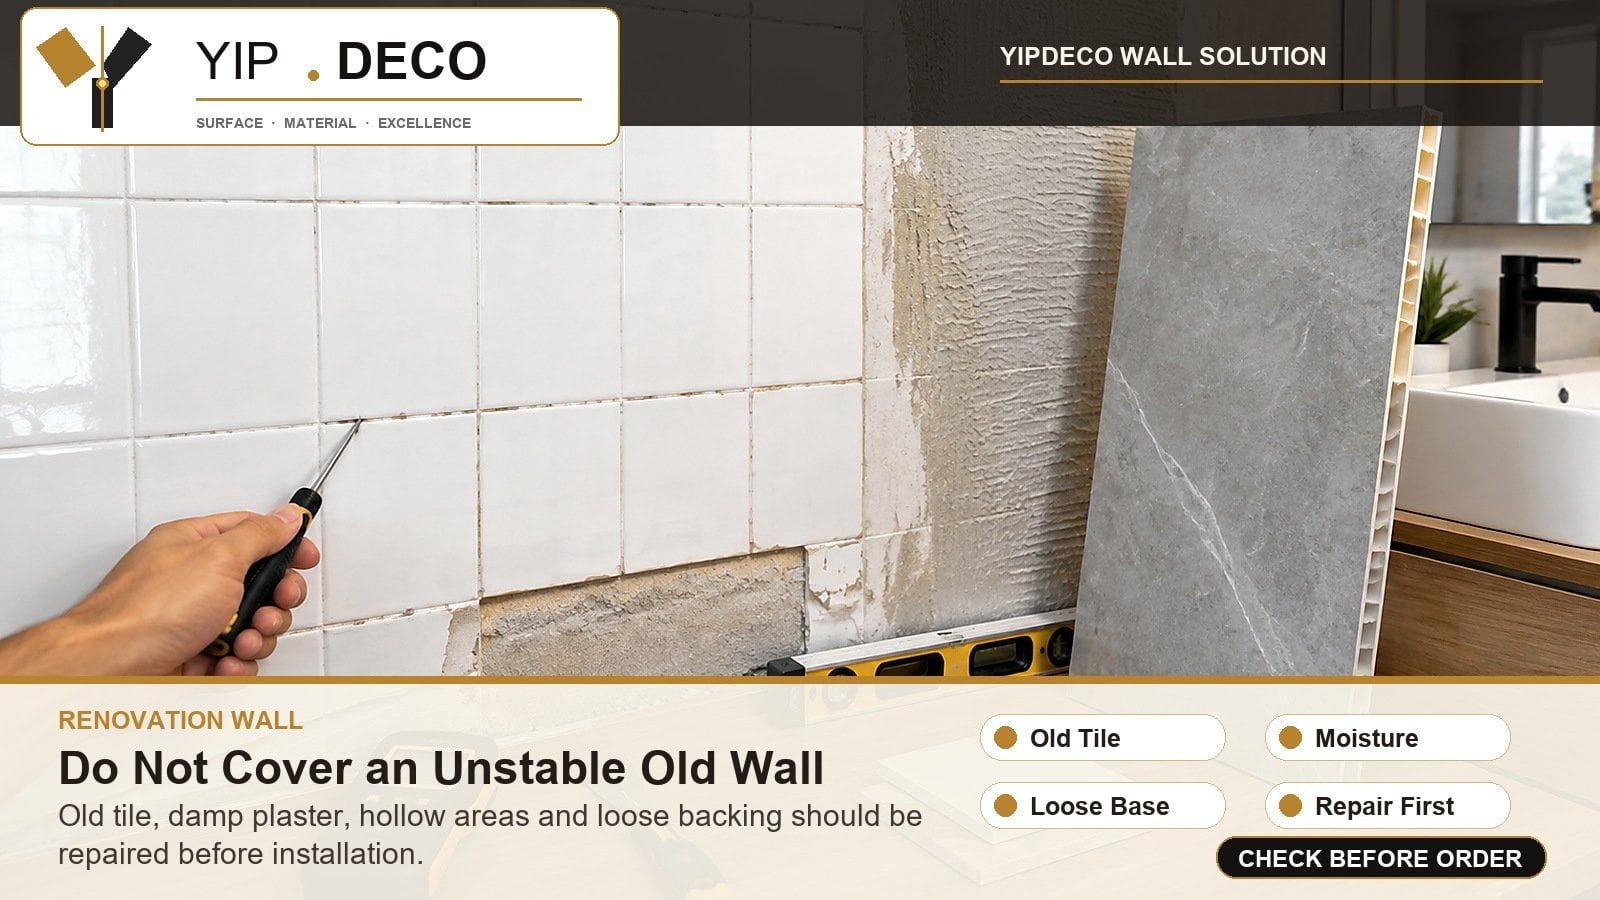
Wall panels may be installed over an existing wall or old ceramic tile only when the base is stable, dry, clean and flat enough. If tiles are loose, hollow, cracked, damp or contaminated with oil or soap residue, the wall should be repaired before panel installation.
The basic check is:
| Old Wall Condition | Better Decision |
|---|---|
| Flat, dry, stable painted wall | Possible after cleaning and compatibility check |
| Dusty or powdery plaster | Repair and prime first |
| Damp or leaking wall | Fix moisture source first |
| Old ceramic tile with hollow areas | Remove loose tile and repair base |
| Uneven wall | Add battens or backing system |
| Direct-water area | Confirm SPC/wet-area system and sealing detail |
The most dangerous mistake is using wall panels to hide a wall that is still wet or unstable. A panel can cover the problem visually, but the problem remains behind it. This can lead to odor, mold, adhesive failure, joint movement or edge lifting.
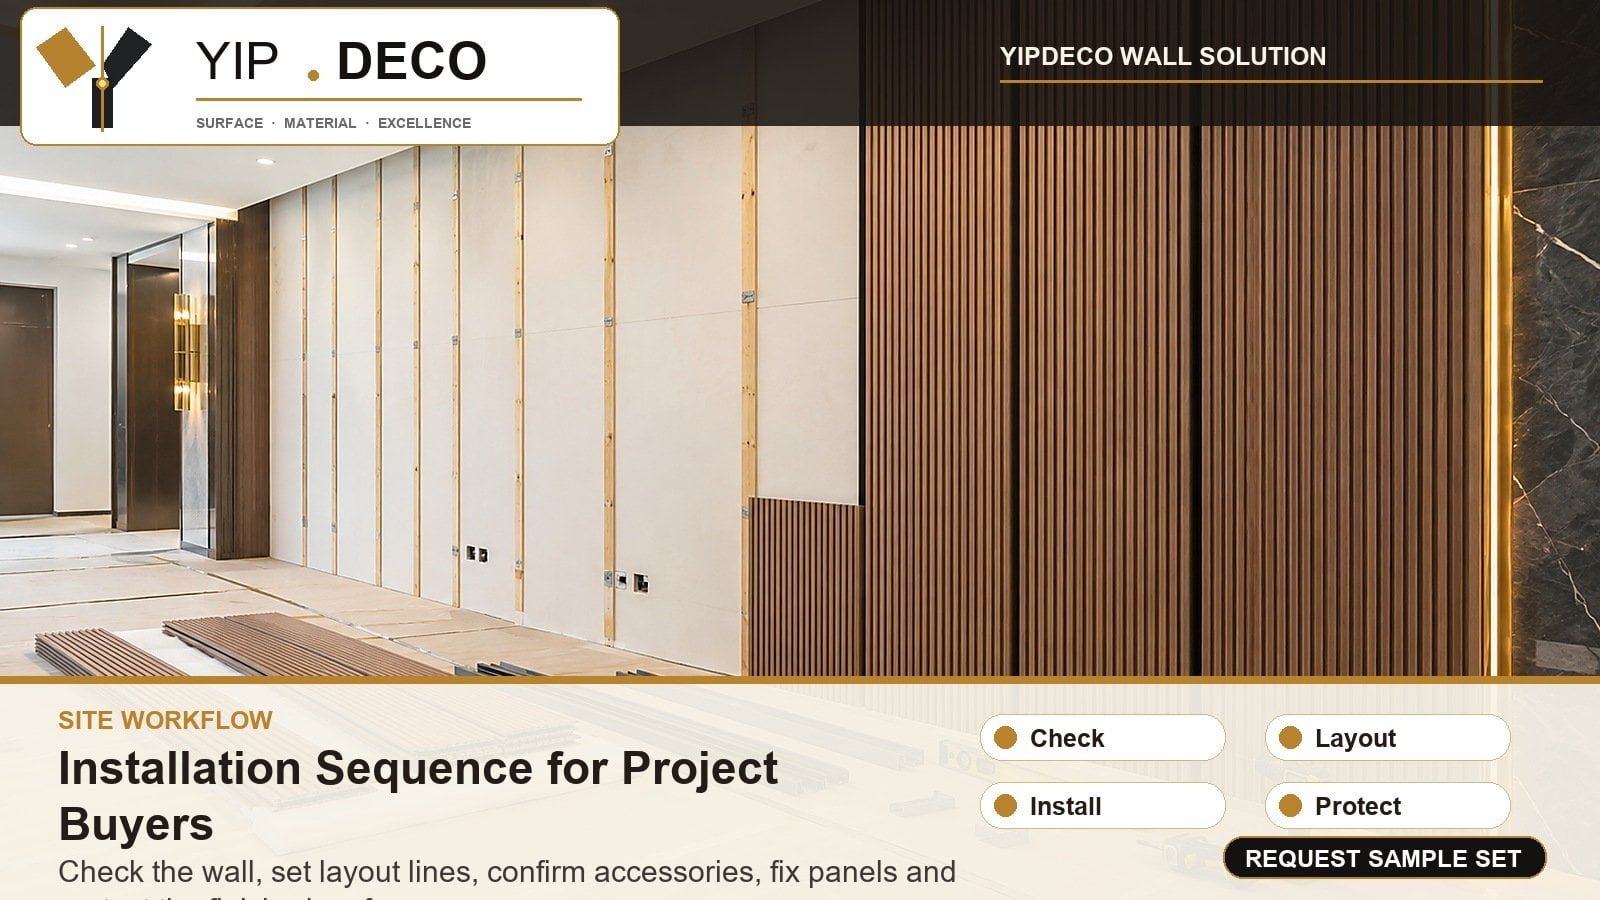
10. Installation Sequence for Project Buyers
The exact installation sequence depends on the panel system, but project buyers can use this general logic to review whether the installer and supplier are aligned.
Step 1: Confirm Wall Condition
Check flatness, moisture, strength, old surface and obstacles such as outlets, pipes, doors, skirting and ceiling details.
Step 2: Confirm Panel Layout
Decide panel direction, starting line, seam positions, corner returns, grille spacing and whether the wall needs symmetrical layout.
Step 3: Confirm Accessories
Match trims, connectors, corners, skirting, LED profiles and end caps to panel thickness and finish. Do this before cutting panels.
Step 4: Prepare the Base
Repair unstable areas, clean dust and oil, install battens or backing when needed, and mark reference lines.
Step 5: Fix Clips or Apply Adhesive
Install clips to the substructure with the right screw type, or apply adhesive according to the panel system. Do not leave clips or screws exposed on the visible face unless the design intentionally uses visible fixing.
Step 6: Install Panels and Check Alignment
Start from the reference line. Check verticality or level frequently. For grille panels, small alignment errors can become very visible.
Step 7: Finish Corners, Edges and LED Lines
Install corner trims, transition profiles, edge caps, skirting and LED profiles. Check whether the visual line is clean and whether light strips are accessible if needed.
Step 8: Final Cleaning and Protection
Remove protective film only at the correct stage. Clean the surface with suitable methods. Protect finished panels from later construction work.
11. What Buyers Should Request Before Bulk Order
For importers and distributors, the installation risk often starts before the container is loaded. The supplier should help clarify the parts list and samples before production.
Before bulk order, request:
- panel samples in the selected finish;
- matching trims and connector samples;
- clip or fixing sample where applicable;
- sectional drawings for profiles;
- panel thickness and effective coverage width;
- recommended installation method by substrate;
- accessory list by wall area;
- LED profile size and finish if lighting is included;
- packing list with profile lengths and carton labels;
- spare pieces for project replacement;
- compliance documents where applicable.
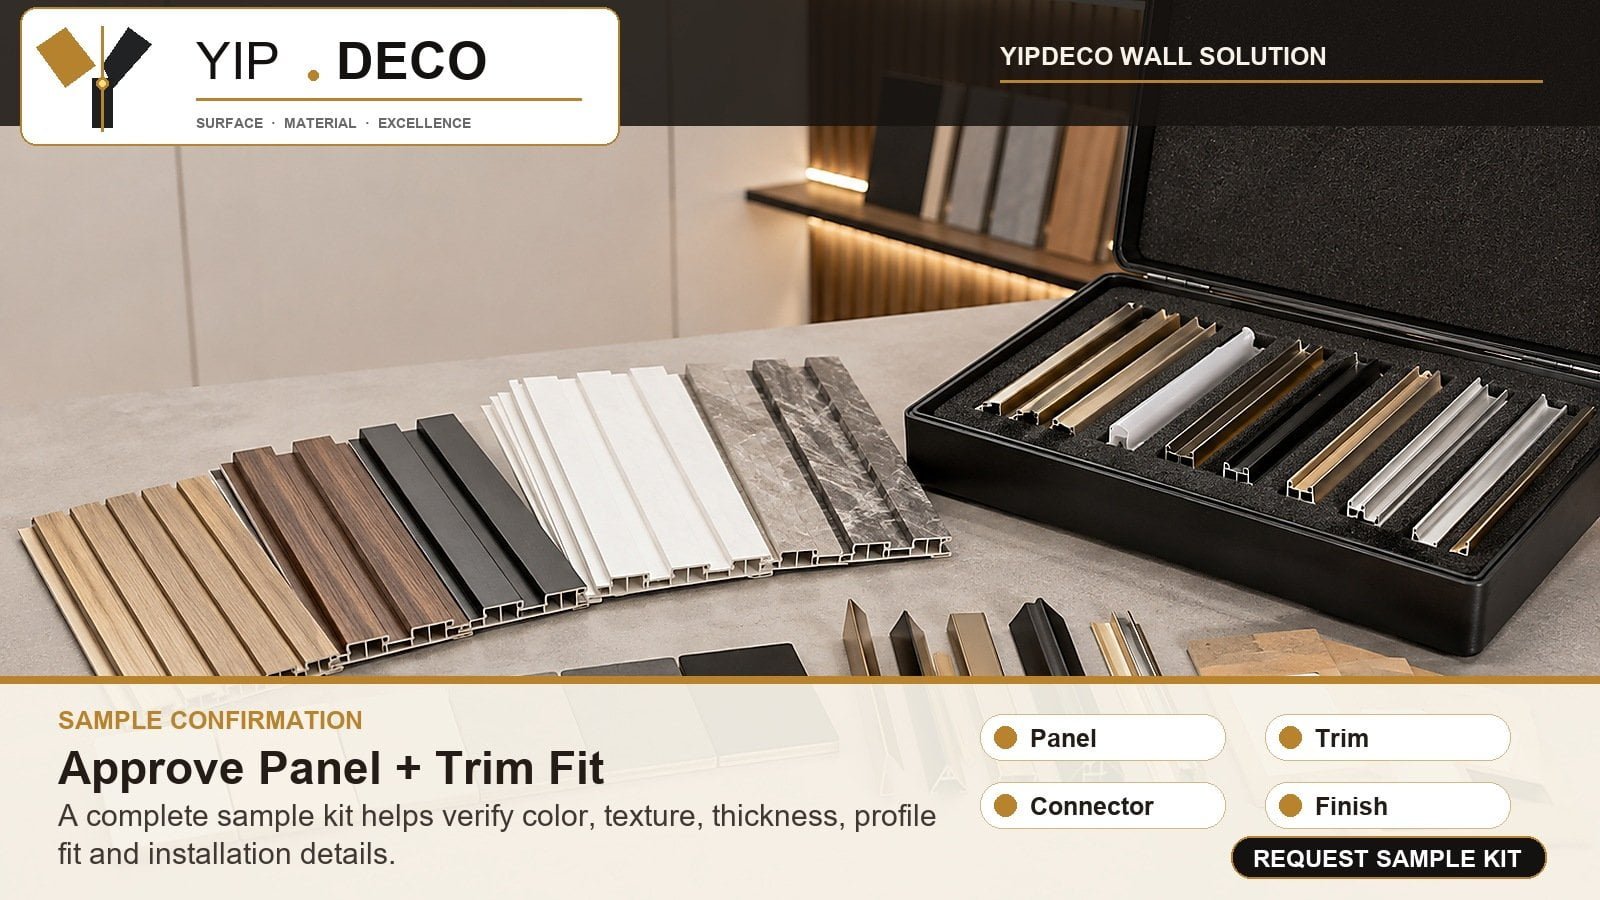
If the buyer is supplying a contractor, it is better to send a complete sample set instead of one panel piece. A complete set allows the contractor to test how the panel, trim, connector and clip work together.
YipDeco Sample Kits can support this discussion because samples are not only for color. They are also for thickness, surface, profile fit and installation detail confirmation.
CTA: Request a Panel + Trim Sample Set
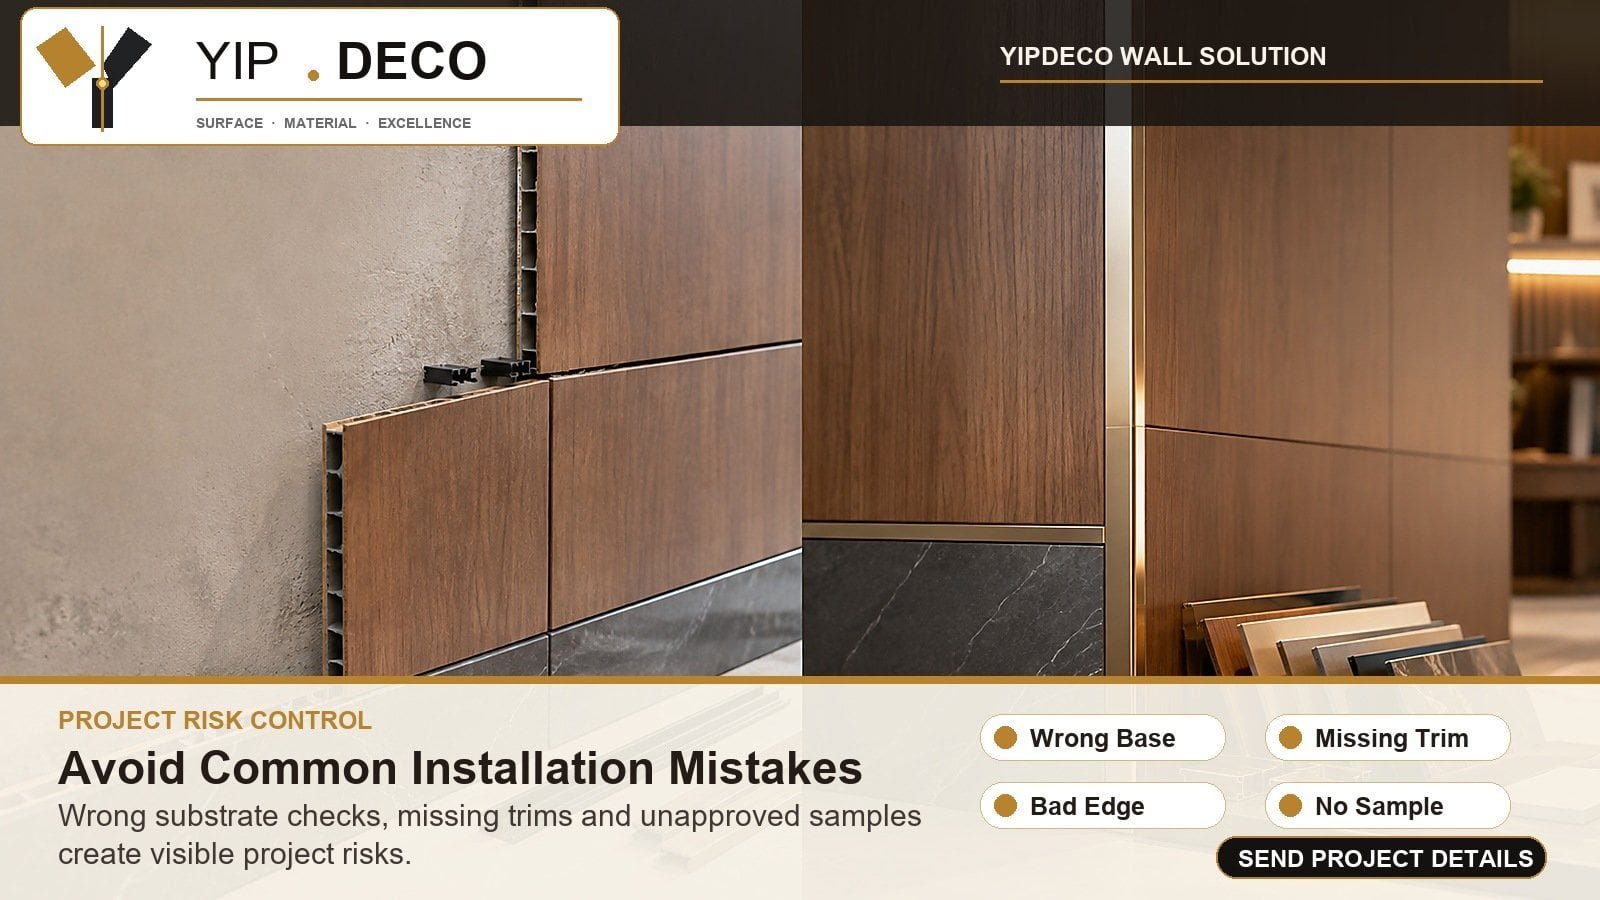
12. Common Wall Panel Installation Mistakes
The following mistakes are common in project communication:
| Mistake | Result | Better Practice |
|---|---|---|
| Ordering panels without accessories | Missing corners, exposed edges, delayed installation | Quote panels and trims together |
| Ignoring substrate condition | Adhesive or clip failure | Check wall base before order |
| Using one screw type for every base | Loose or unsuitable fixing | Match screw to timber, steel, board or masonry |
| No sample approval | Color, gloss or profile mismatch | Approve physical sample set |
| No layout plan | Awkward seams and off-center grille lines | Confirm wall elevation and starting line |
| Adding LED profiles late | Cutting and wiring problems | Plan LED channels before production |
| Removing protective film too early | Surface scratches during construction | Remove at final cleaning stage |
| No spare panels | Difficult repair after project handover | Order spare pieces by batch |
These are not complex problems, but they are expensive when discovered on site.
13. Explore Our Range
| Project Need | YipDeco Page | Use in Installation Planning |
|---|---|---|
| Complete wall material system | Wall Solution | Start from panel type, application scene and system matching |
| Dry decorative wall areas | PVC Wall Panels | Suitable for many commercial interior walls and feature areas |
| Wet-area or tile-replacement walls | SPC Wall Panels | Use when moisture resistance and rigid wall-panel structure are important |
| Feature walls and vertical texture | Mouldings & Grille | Plan grille panels, curved profiles, mouldings and wall-ceiling transitions |
| Corners, joints, trims and LED lines | Wall Connection Accessories | Complete the installation with matching profiles and connectors |
| Sample and project confirmation | Contact YipDeco | Request samples, trim matching and project quotation |
External References for Project Buyers
For buyers comparing installation risk, it is useful to review external technical and project-management references, not only supplier catalogs.
- Construction research published through the U.S. National Library of Medicine discusses how material, procurement and coordination issues can contribute to project delays and rework: Construction delays and rework research.
- Research on wood-based panels and fiber materials discusses moisture behavior in panel substrates, which supports the need to protect exposed edges and check wet conditions before installation: Moisture behavior in wood-based panel materials.
- The U.S. Department of Energy's solid-state lighting resources are useful background when buyers plan LED-integrated wall details: Solid-state lighting resources.
Final Checklist: How to Make Wall Panel Installation Easier Before Ordering
Before placing a wall panel order, buyers should ask these questions:
- What is the exact installation scene?
- Is the wall dry, flat and strong enough?
- What substrate will clips or screws fix into?
- Is the panel PVC, SPC, grille, moulding or reinforced board?
- Does the panel need adhesive, clips, screws or a combined system?
- Which trims finish the outside corners, inside corners and panel ends?
- Are LED profiles required, and where will the light strip and power supply go?
- Has the buyer approved physical samples of panel, trim, connector and color?
- Are cartons labeled by area, room, color or profile type?
- Are spare panels and accessories included for project maintenance?
Wall panel installation becomes easier when the system is planned before production. The panel, substrate, clips, screws, trims, LED profiles and samples should be treated as one project package. For B2B buyers, this reduces missing parts, color mismatch, installation delays and on-site rework.
If you are preparing a hotel, office, retail or renovation wall-panel project, send YipDeco the wall scene, substrate condition, preferred panel style and installation questions. We can help review the panel and accessory list before sample confirmation or bulk order.
Request wall panel samples or installation accessory support